中文简体
中文简体 Español
 عربى
عربىInstalling and maintaining an Electric Wall Oven is essential for ensuring its long-term functionality and safety. Whether you are replacing an old oven or installing a new one, understanding the installation process and following proper maintenance procedures will help your appliance run smoothly for years.
Content
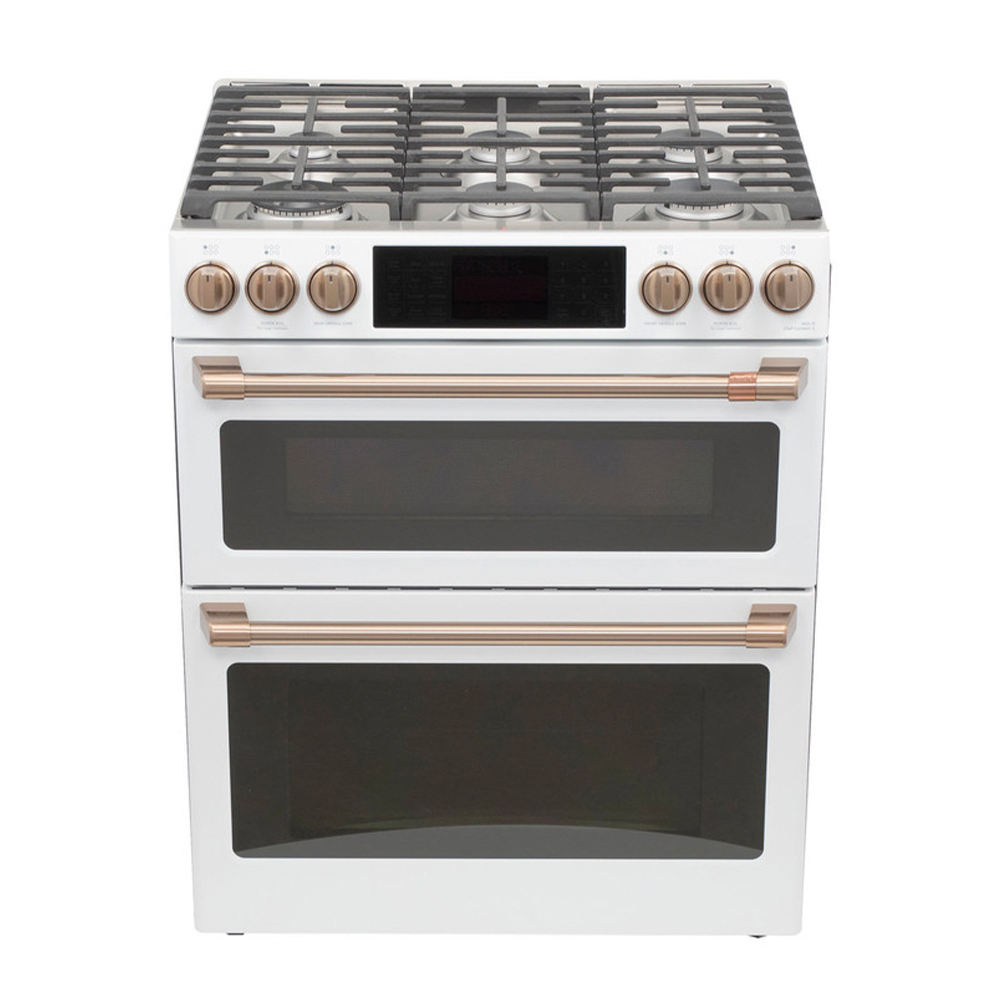
Installation of an Electric Wall Oven
Installing an electric wall oven is a task that requires precision and safety precautions. Before beginning the installation process, make sure you have the necessary tools and materials, including a voltage tester, a drill, a screwdriver, and a level. Here's a step-by-step guide to installing an electric wall oven:
Step 1: Turn Off the Power Supply
Before working with electrical components, it is crucial to turn off the power supply at the breaker panel. This will eliminate the risk of electrical shocks during installation.
Step 2: Prepare the Installation Space
Ensure that the space where the oven will be installed meets the manufacturer’s specifications. This may involve adjusting cabinet openings and ensuring proper ventilation for the oven to function efficiently.
Step 3: Connect the Electrical Wiring
Most electric wall ovens require a dedicated 240-volt circuit. Carefully follow the manufacturer’s wiring instructions to connect the oven’s power supply to the appropriate circuit. This may involve attaching the oven’s wires to the existing electrical connections in the wall. If you're unsure about electrical connections, it's advisable to consult a licensed electrician.
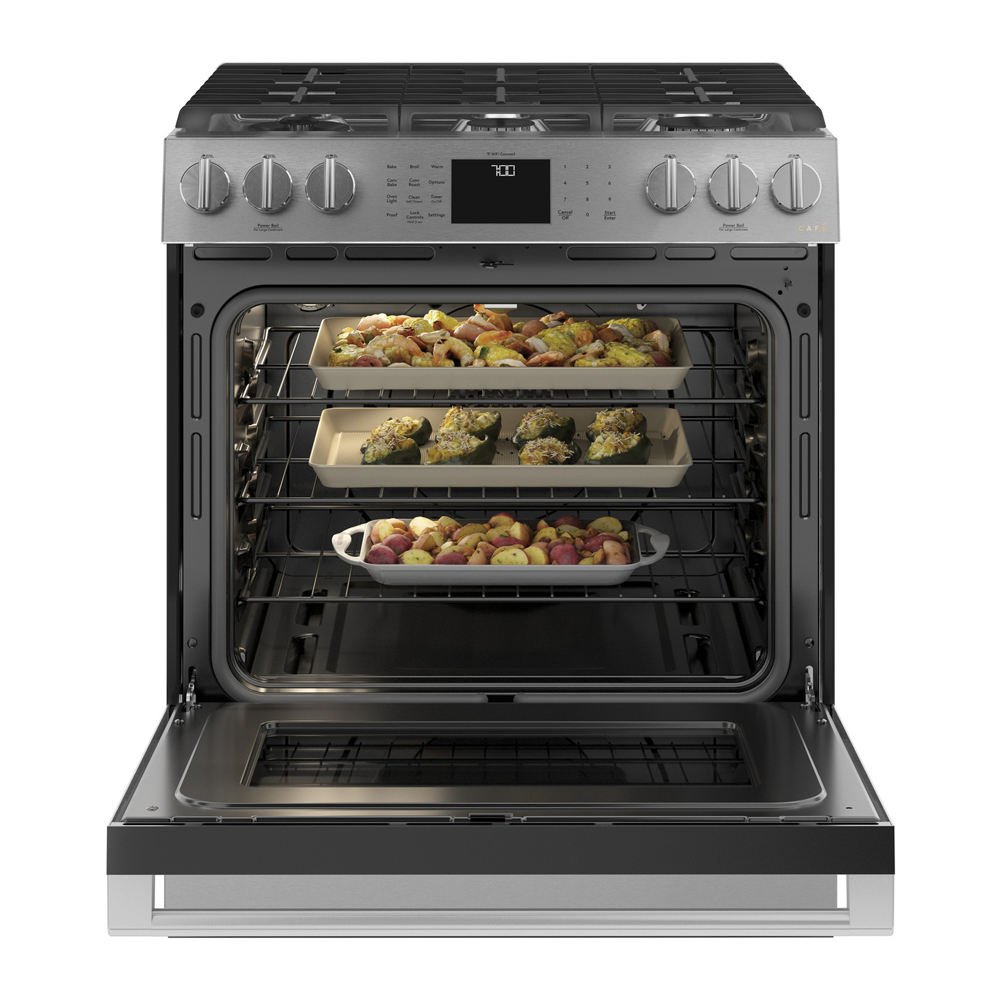
Step 4: Install the Oven into the Cabinet
Once the electrical connections are secure, carefully slide the oven into the cabinet opening. Use a level to ensure the oven is positioned properly. Make sure the oven is flush with the cabinetry for a seamless look.
Step 5: Secure the Oven
After positioning the oven, secure it in place using screws or brackets provided by the manufacturer. These should be installed through the oven’s mounting brackets and into the cabinetry to prevent shifting.
Step 6: Test the Oven
Before completing the installation, test the oven by turning the power back on and checking if it heats up correctly. If the oven operates as expected, the installation is complete.
Maintaining Your Electric Wall Oven
Proper maintenance is key to prolonging the life of your Electric Wall Oven. Regular upkeep ensures that your oven functions at peak efficiency and reduces the risk of breakdowns. Below are some maintenance tips for keeping your oven in top condition:
1. Regular Cleaning
Cleaning your oven regularly is crucial for its performance and hygiene. Use a non-abrasive cleaner to wipe down the oven’s exterior and interior. Avoid using harsh chemicals that could damage the oven’s surface.
2. Clean the Oven Door
The oven door should be cleaned regularly to prevent grease buildup. Wipe it down with a damp cloth and mild detergent. For stubborn stains, you may use a dedicated oven cleaner.
3. Inspect and Replace the Gasket
The gasket around the oven door plays a vital role in maintaining heat inside the oven. Inspect the gasket periodically for cracks, tears, or signs of wear. If damaged, replace it immediately to prevent heat loss and improve cooking efficiency.
4. Check the Heating Elements
Inspect the heating elements for signs of damage. If an element appears cracked or non-functional, it may need to be replaced. Always ensure the oven is turned off and unplugged before inspecting or replacing any components.
5. Test the Oven's Thermostat
Over time, an oven's thermostat may become inaccurate. To check its functionality, use an oven thermometer to compare the temperature reading with the setting on the oven. If there is a significant difference, the thermostat may need recalibration or replacement.
6. Clean the Oven's Ventilation System
The oven’s ventilation system ensures that heat is properly circulated within the appliance. Over time, grease and dust can accumulate in the vents, reducing efficiency. Clean the vents using a vacuum cleaner or a soft brush to remove debris.
7. Annual Professional Inspection
To ensure your oven remains in optimal working condition, consider scheduling an annual professional inspection. A technician can check for potential issues, such as electrical problems or worn-out parts, and provide necessary repairs or replacements.
Common Issues and Troubleshooting Tips
Despite proper installation and maintenance, certain issues may arise with your Electric Wall Oven. Below are some common problems and troubleshooting tips:
Problem 1: The Oven Is Not Heating
- Check the power supply. Ensure that the oven is properly connected to the electrical circuit and that the breaker is not tripped.
- Inspect the heating elements for visible damage or wear.
- If the oven is still not heating, it may be a problem with the thermostat or control board, in which case professional repair is recommended.
Problem 2: Oven Door Won’t Close Properly
- Check if the gasket is worn or damaged. A faulty gasket can cause the door to not seal correctly, leading to heat loss.
- Ensure that the hinges are functioning properly and that there is no obstruction preventing the door from closing.
Problem 3: The Oven Is Making Strange Noises
- Clicking or popping sounds are often caused by the expansion and contraction of heating elements, which is normal during use.
- If the noise is persistent or accompanied by other issues, such as overheating, it may indicate a more serious problem that needs professional attention.
Comparison of Electric Wall Ovens
When selecting an Electric Wall Oven, it’s essential to compare different models to find the one that best suits your needs. Here’s a comparison of two popular types:
| Feature | Standard Electric Wall Oven | Convection Electric Wall Oven |
|---|---|---|
| Cooking Speed | Average | Faster (due to fan-assisted heat circulation) |
| Energy Efficiency | Standard | Higher (uses a fan to circulate heat more efficiently) |
| Cost | Less Expensive | More Expensive |
| Ideal Use | Basic cooking and baking | Advanced cooking, ideal for even baking and roasting |
Frequently Asked Questions (FAQs)
1. Can I Install an Electric Wall Oven Myself?
While it is possible to install an electric wall oven yourself, it’s recommended to hire a professional for safety and efficiency, especially when working with electrical components.
2. How Often Should I Clean My Electric Wall Oven?
It's recommended to clean your oven at least once a month or more frequently if you use it regularly. Regular cleaning helps maintain performance and prevents the buildup of grease and food residues.
3. What’s the Difference Between a Single and Double Electric Wall Oven?
A single electric wall oven provides one cooking cavity, whereas a double electric wall oven features two separate cavities, allowing you to cook multiple dishes at different temperatures simultaneously.
4. How Can I Improve the Efficiency of My Electric Wall Oven?
To improve efficiency, make sure the oven door is sealed tightly, use cookware that is the right size for the oven, and avoid opening the door frequently while cooking to maintain heat.
5. What Are the Benefits of a Convection Electric Wall Oven?
Convection ovens provide more even heat distribution, faster cooking times, and better results for baking, roasting, and browning. They are ideal for cooking multiple dishes at once or larger meals.