中文简体
中文简体 Español
 عربى
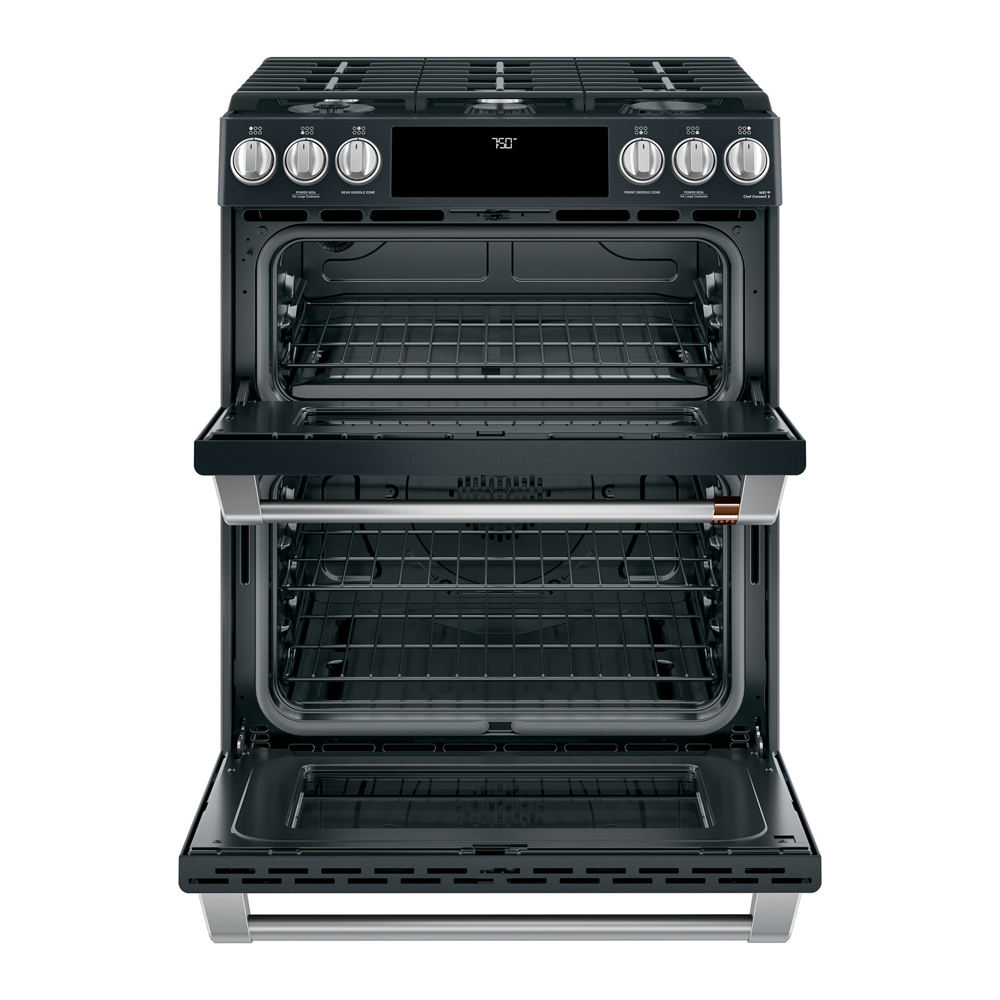
عربىRegular maintenance of your electric wall oven is essential for optimal performance and longevity. However, cleaning hard-to-reach areas often requires temporarily removing the oven door—a task that demands precision and caution.
1. Prioritize Safety First
Before beginning, disconnect the electric wall oven from its power source. Unplug it or turn off the circuit breaker to eliminate electrocution risks. Allow the appliance to cool completely if recently used. Wear protective gloves to avoid cuts from sharp edges or glass fragments.
2. Prepare Tools and Workspace
Gather a screwdriver, soft cloths, and a non-abrasive cleaner suitable for oven surfaces. Clear a flat, stable workspace (e.g., a table or countertop) to place the door after removal.
3. Locate and Release the Door Locking Mechanism
Most electric wall ovens feature a door-locking system. Open the door fully and inspect the hinges. Look for a latch, lever, or screws securing the door to the frame. Consult the manufacturer’s manual for model-specific instructions.
Hinge-Latch System: Many modern ovens have hinges that lock when the door is open. Push upward on the hinge levers (located on both sides) to disengage them.
Screw-Based Attachment: Older models may require unscrewing hinge bolts. Use a screwdriver to carefully loosen them while supporting the door’s weight.
4. Remove the Door with Care
Once the hinges are disengaged, grip the door firmly on both sides. Tilt it slightly upward to detach it from the oven cavity. Have a second person assist if the door is heavy or awkward to maneuver. Place it on the prepared workspace.
5. Clean Thoroughly Yet Gently
With the door removed, clean both sides of the glass and door frame. Avoid harsh chemicals or abrasive pads that could scratch surfaces. For grease buildup, use a paste of baking soda and water. Wipe dry with a microfiber cloth to prevent residue.
6. Reattach the Door Correctly
To reinstall, align the door hinges with the slots on the oven frame. Tilt the door downward until it clicks into place. Test the hinges by gently opening and closing the door to confirm stability. Re-tighten screws if applicable.
7. Final Checks
Restore power to the electric wall oven. Run a brief test cycle to ensure the door seals properly and the oven heats as expected. Inspect for gaps or misalignment, which could affect energy efficiency or safety.
Why This Matters
A clean electric wall oven operates more efficiently, reduces energy consumption, and minimizes fire hazards from grease accumulation. Proper door removal also prevents damage to hinges or glass, saving costly repairs.
By following this methodical approach, you can maintain your electric wall oven’s hygiene and functionality without compromising safety. Regular upkeep ensures your appliance remains a reliable cornerstone of your kitchen for years to come.