中文简体
中文简体 Español
 عربى
عربىIf your cakes sink in the middle, your cookies spread into flat discs, or your bread comes out with a gummy texture, the culprit is often not your recipe—it is your preheating routine. For an electric oven, preheating is not a suggestion; it is the foundation of predictable baking. Unlike a gas flame that delivers immediate heat, an electric oven relies on metal heating elements that require several minutes to radiate energy across the entire cavity. Skipping or rushing this step means your food starts baking in an unstable environment, which directly affects how leavening agents activate, how proteins set, and how starches gelatinize.
The good news is that mastering preheat is straightforward. You just need to understand the correct steps, the typical timeframes, and how to verify that the inside of your oven has actually reached the target temperature. This guide focuses exclusively on electric ovens—including built-in wall ovens, convection models, and steam-assisted units—so you can get consistent, professional-level results every time you bake.
Content
- Why Preheating an Electric Oven Matters for Baking Results
- Step-by-Step Guide: How to Preheat an Electric Oven
- How Long Does an Electric Oven Take to Preheat? (Time Reference)
- Common Preheating Mistakes That Ruin Baking Results
- How to Preheat Faster Without Sacrificing Baking Quality
- Electric Oven vs. Gas Oven: Does Preheat Behavior Differ?
- Final Checklist — Preheat Like a Pro
Why Preheating an Electric Oven Matters for Baking Results
Preheating ensures that the oven cavity reaches a stable, target temperature before your food enters. Baking is a series of precise chemical reactions, and those reactions depend on a specific starting temperature. For example, baking powder activates quickly at around 140°F (60°C), while proteins in eggs and flour begin to coagulate and set at higher temperatures. If the oven is still warming up, these reactions happen too slowly, leading to structural failures.
Here is what you can expect if you skip the preheat or rush it:
- Under-preheating leads to cakes that sink in the middle, cookies that spread too much and turn flat, bread with a sticky, dense interior, and pie fillings that refuse to set.
- Overheating (setting the temperature too high briefly to speed things up) can cause cakes and cheesecakes to crack on top, cookies to burn on the bottom, and pie crusts to brown too quickly before the filling cooks through.
Electric ovens have a unique characteristic: the heating elements are located at the top and bottom of the cavity. This means heat is radiated directly from these surfaces. Without a full preheat, the area near the elements can be significantly hotter than the center, leading to uneven baking from the very start. A proper preheat allows the air inside the cavity to stabilize, providing a uniform heat environment for your food.
Step-by-Step Guide: How to Preheat an Electric Oven
Follow this sequence every time you bake. It is designed to be efficient and to account for the specific way electric ovens operate.
Step 1 — Clear the Oven and Check Rack Position
Remove any baking sheets, pizza stones, or unused racks from the oven. An empty cavity heats up faster and more evenly. Next, confirm that the rack you plan to use is in the correct position. For most baking—like cakes, cookies, and casseroles—the center rack is ideal. If you are baking pizza or a pie that needs a crispy bottom, use a lower rack position. For a detailed guide on positioning, refer to the best rack positions for different foods in an electric wall oven.
Step 2 — Set the Temperature
Turn the dial or use the digital panel to set the exact temperature your recipe calls for. Do not set it higher to speed up the process and then reduce it later. That creates a temperature overshoot that can shock your batter or dough. Modern electric ovens, especially those with a digital touch screen interface, allow for precise temperature selection in single-degree increments, which is a significant advantage for baking.
Step 3 — Select the Right Heating Mode
If your electric oven offers multiple modes (standard bake, convection, or steam), choose based on what you are making. In standard bake mode, the top and bottom elements do the work, and preheat typically takes 10–15 minutes. In convection mode, a fan circulates the hot air, which speeds up preheating to about 5–10 minutes and provides a more uniform temperature throughout the cavity. If you use convection, remember to reduce the recipe's temperature by 25°F (about 15°C) to avoid over-browning. For delicate items like custards or soufflés, standard bake mode with gentle, radiant heat is often safer. If your oven has a steam function and you plan to use it, consult the manual—some models require filling a water reservoir before preheating begins. For bakers interested in moisture control, consider exploring steam baking ovens for enhanced moisture control.
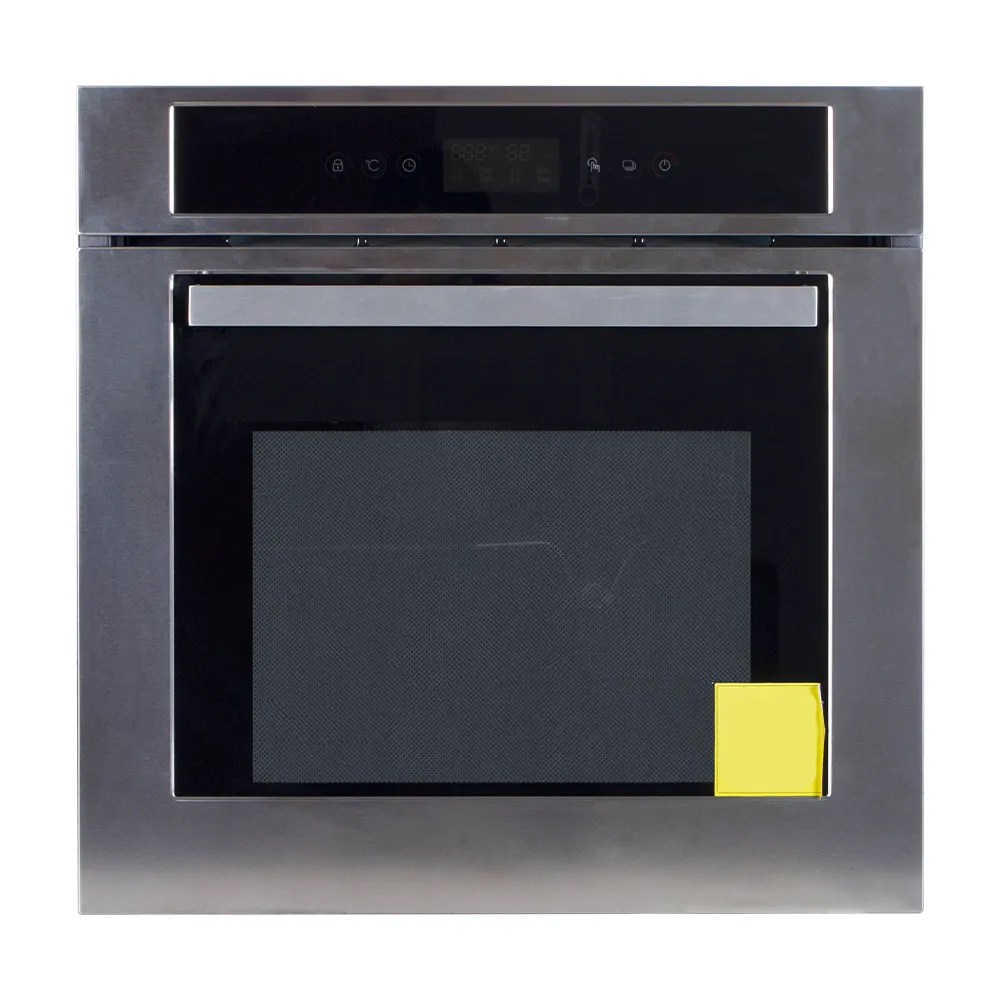
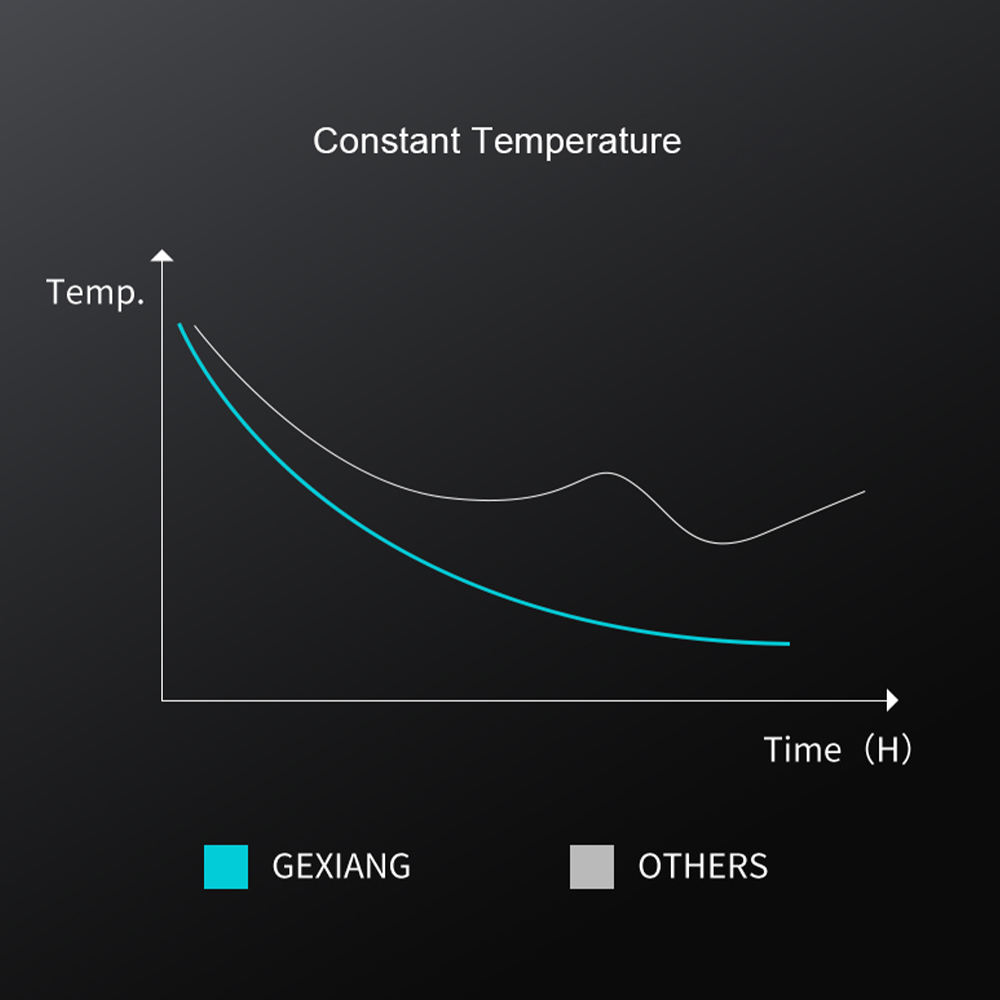 Wholesale Built-in Steam Baking Oven Manufacturer, Factory - ShengZhou GeXiang EShengZhou GeXiang Electric is China Built-in Steam Baking Oven manufacturers and OEM & ODM factory,The Built-in Steam Baking Oven is a mu...View Product →
Step 4 — Wait for the Preheat Signal
When your oven reaches the set temperature, it will beep or a light will turn off. This is your queue to proceed. However, the signal only indicates that the sensor near the heating element has reached the target temperature, not that the entire cavity is uniform. To ensure even heat distribution, wait an additional 5 minutes after the signal before loading your food.
Step 5 — Verify with an Oven Thermometer (Recommended)
If you want truly reliable results, always use an independent oven thermometer. Place it in the center of the oven, slightly below the middle rack, and check the reading after the preheat signal. A variance of ±15°F (±8°C) from the set temperature is acceptable. If the discrepancy is larger, your oven may need calibration. This is a critical step that many home bakers skip because they trust the oven's display, but the internal sensor can drift over time.
Step 6 — Load Your Food Quickly and Keep the Door Closed
Once verified, load your baking pans and close the door as quickly as possible to minimize heat loss. Every time you open the door during baking, the temperature drops by 25–50°F, and it takes time for the oven to recover. This can extend baking times and cause uneven results, especially with delicate items like sponge cakes.
How Long Does an Electric Oven Take to Preheat? (Time Reference)
Preheat times vary based on the temperature setting and the oven's features. The following are common industry reference points observed in many modern electric ovens, not specific manufacturer test data.
| Temperature Set | Standard Mode (Minutes) | Convection Mode (Minutes) |
|---|---|---|
| 350°F (175°C) | 12–15 | 5–10 |
| 400°F (205°C) | 17–20 | 8–15 |
| 450°F (230°C) | 22–25 | 10–18 |
Several factors can influence these times. The physical size of the cavity matters: a large 130-liter oven will naturally take longer to heat than a compact 80-liter model. Insulation quality, ambient room temperature, and whether the oven is already warm from previous use also play a role. Voltage stability in your home can affect how quickly the heating elements reach maximum output.
For a deeper understanding of how your oven's performance compares, read more about how electric wall ovens compare to other oven types in preheating. If you just bought a new oven, it is worth running a test cycle: set it to 350°F, time how long it takes to beep, and verify the internal temperature with an oven thermometer. Record this baseline for future reference.
Common Preheating Mistakes That Ruin Baking Results
Being aware of common mistakes can prevent a lot of wasted ingredients and frustration. Here are the most frequent issues and why they cause problems.
Putting Food in Before the Preheat Completes
It is tempting to slide your tray in as soon as the oven feels warm, but the cavity is not yet stable. Your cake batter will rise unevenly, and your cookies will spread unpredictably because the initial heat is not sufficient to set their structure.
Opening the Door to "Check" the Oven
Resist the urge to peek. Each time you open the door, hot air escapes and is replaced by cooler room air. This causes the heating elements to turn on again, which can lead to temperature fluctuations and uneven baking. If you need to check on your food, use the oven light and look through the window.
Preheating Too High, Then Reducing
Some bakers think they can shortcut the process by setting the oven to 500°F and then turning it down to 350°F once it beeps. This causes a wide temperature overshoot. The oven's elements will heat rapidly, and even after you reduce the temperature, the cavity remains excessively hot for several minutes, which can cause your baked goods to form a hard crust too early or burn on the bottom.
Choosing the Wrong Rack Position
Placing your pan too close to the bottom element will result in a burnt base, while the top may remain undercooked. Conversely, positioning a cake too high in the oven can cause the top to brown and crack before the center is set. Preheat your oven with the rack already in the correct position, and avoid moving it after the oven is hot.
How to Preheat Faster Without Sacrificing Baking Quality
If time is short, there are legitimate ways to speed up the preheat process without compromising the final product. Use these methods deliberately.
- Use convection mode. A fan-assisted oven circulates hot air, which not only reduces preheat time by up to 50% but also ensures a more uniform temperature. Just remember to lower the recipe temperature by 25°F.
- Keep the door closed. It sounds obvious, but many people open the door to check if the oven is hot. This releases the heated air and extends the preheat time.
- Preheat with an empty oven. Do not keep a pizza stone, broiler pan, or sheet trays inside during the preheat unless you are specifically heating them for your bake. Extra mass in the cavity absorbs heat and increases the time to reach temperature.
- Load your food immediately after the signal. Do not let the oven sit idle for 5–10 minutes after it beeps while you finish preparing your batter. Have your pans ready before you start the preheat.
For an evidence-based look at whether this is a unique advantage of electric wall ovens, you can review whether electric wall ovens preheat faster than traditional ovens.
Electric Oven vs. Gas Oven: Does Preheat Behavior Differ?
Understanding the differences between electric and gas ovens can help you adapt if you are switching appliances. The core distinction lies in the heat source.
An electric oven uses metal heating elements at the top and bottom of the cavity. Radiant heat from these elements raises the temperature of the air and the surfaces. The elements cycle on and off to maintain the set temperature, which means the internal temperature fluctuates slightly around your target—this is normal. Electric ovens typically heat more evenly because of the dual-element design, and digital panels offer precise temperature control.
A gas oven generates heat from a burner at the base of the cavity. This creates a localized heat source that can result in hot spots closer to the oven floor. Gas ovens tend to have more humidity inside due to the byproducts of combustion, which can be an advantage for some baking applications but can also make achieving a dry, crisp crust more challenging. If your recipe was developed for a gas oven and you now use an electric one, you may need to adjust the baking time or rack position. For a more detailed comparison of how the two affect your final product, see how baking results differ between electric wall ovens and freestanding ranges.
Final Checklist — Preheat Like a Pro
Here is a concise, repeatable checklist to follow every time you bake. Save it to your phone or print it and stick it inside a kitchen cabinet.
- Empty the oven of all trays and unused racks.
- Confirm the rack is in the correct position based on what you are baking.
- Set the exact temperature from your recipe.
- Select the appropriate mode (standard bake, convection, or steam).
- Close the door and wait for the preheat signal.
- Wait an extra 5 minutes after the signal for even heat distribution.
- Verify the internal temperature with an independent oven thermometer.
- Load your food quickly, close the door, and avoid opening it unnecessarily.
Record the baseline preheat time for your specific oven (e.g., 14 minutes to 350°F) and tape it to the side of the unit. That way, you will know when to start checking if your oven is near its target temperature.
Mastering the preheat is the first and most controllable step toward consistent baking. It is a repeatable, verifiable process that removes a major variable from baking. Once you have it down, you can focus on refining recipes instead of troubleshooting oven issues. If you are looking for an oven that supports this level of control, you can explore premium electric wall oven models that feature advanced digital controls and precision heating systems.
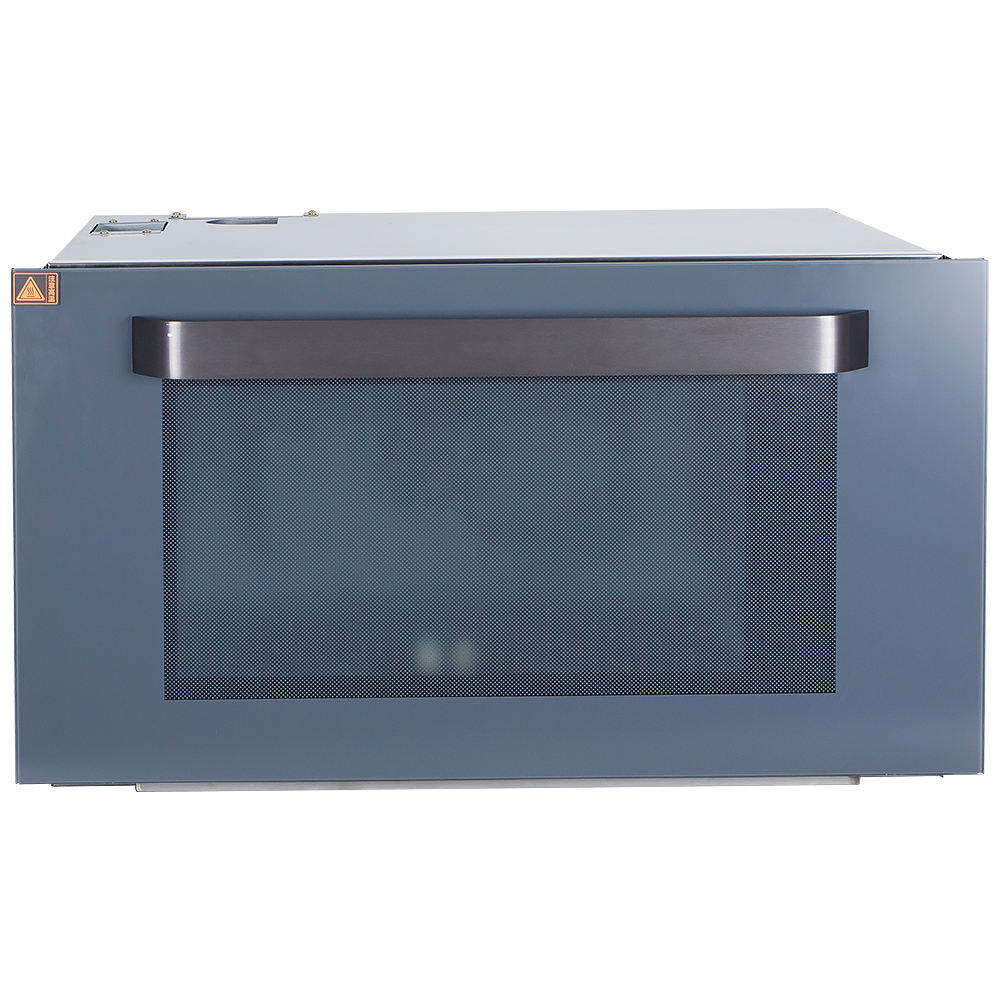 Custom Electric Wall Oven Manufacturer, FactoryAs China Electric Wall Oven suppliers and custom Electric Wall Oven company, ShengZhou GeXiang Electric specializes in OEM & ODM services...View Product →