中文简体
中文简体 Español
 عربى
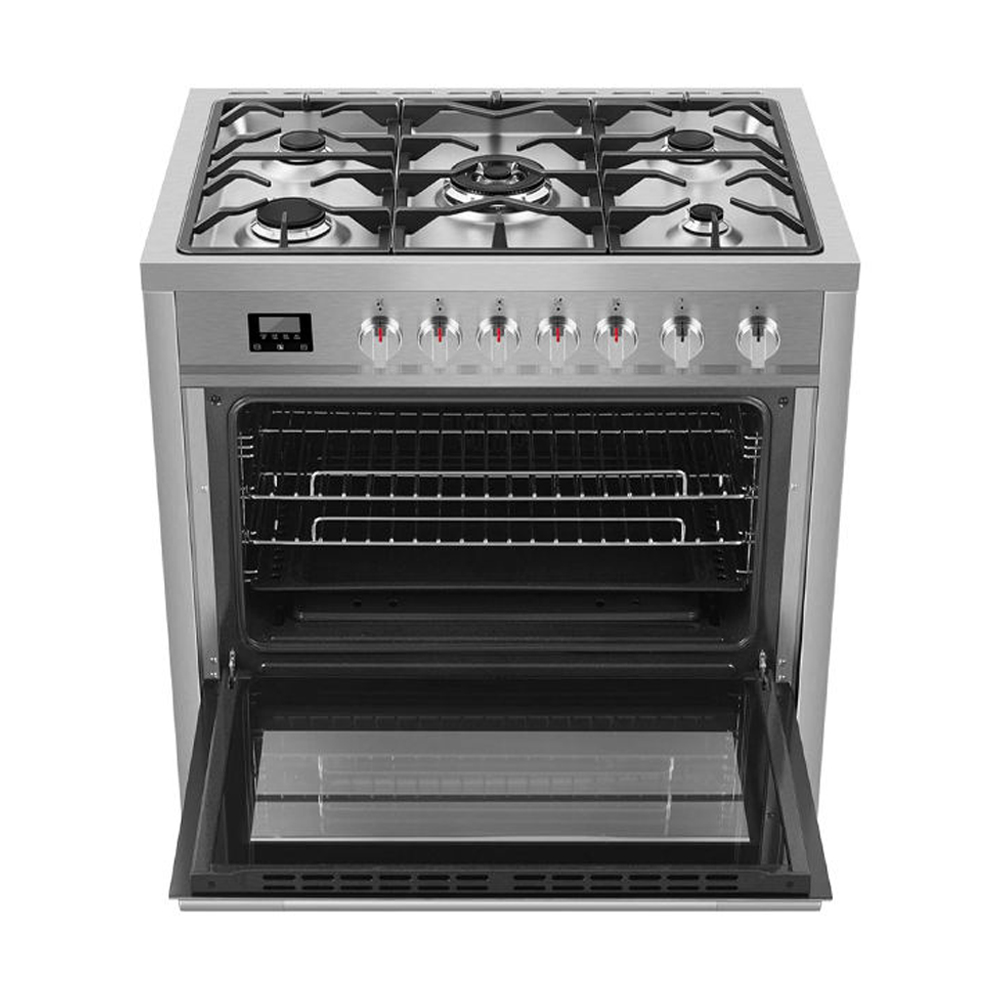
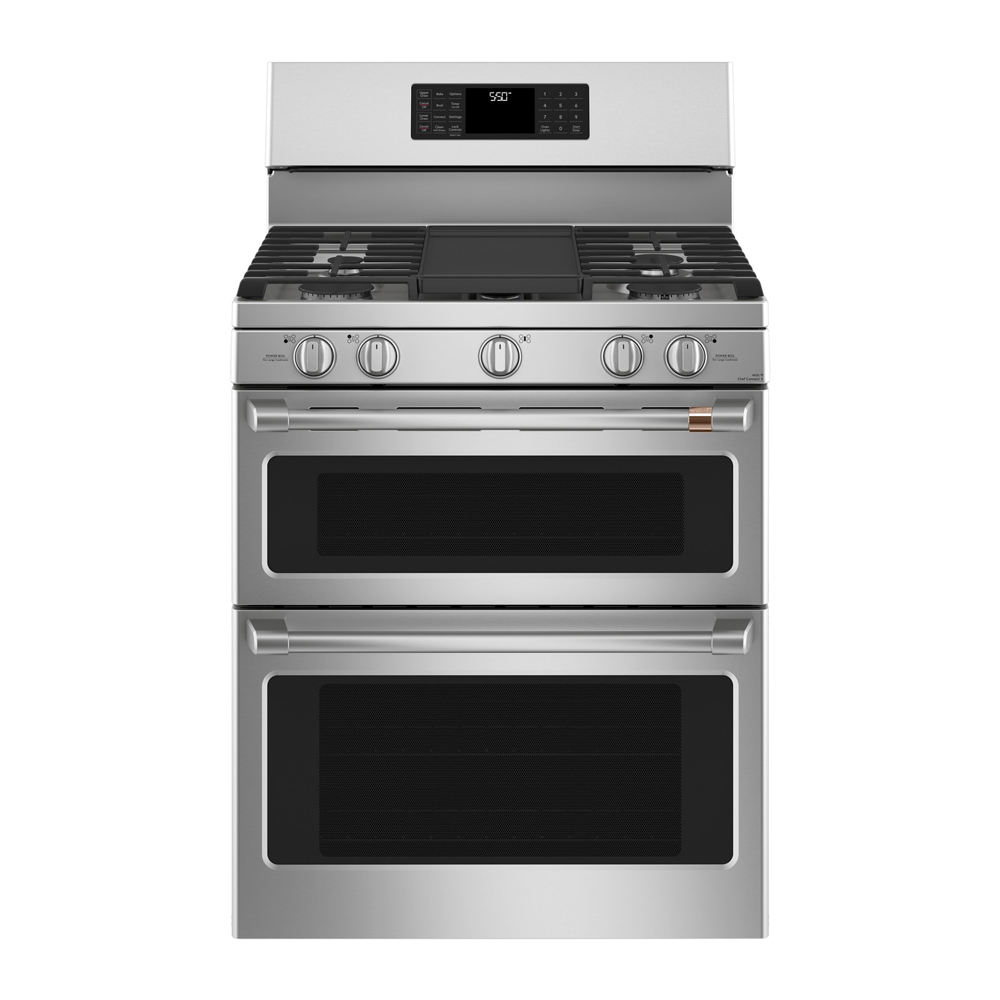
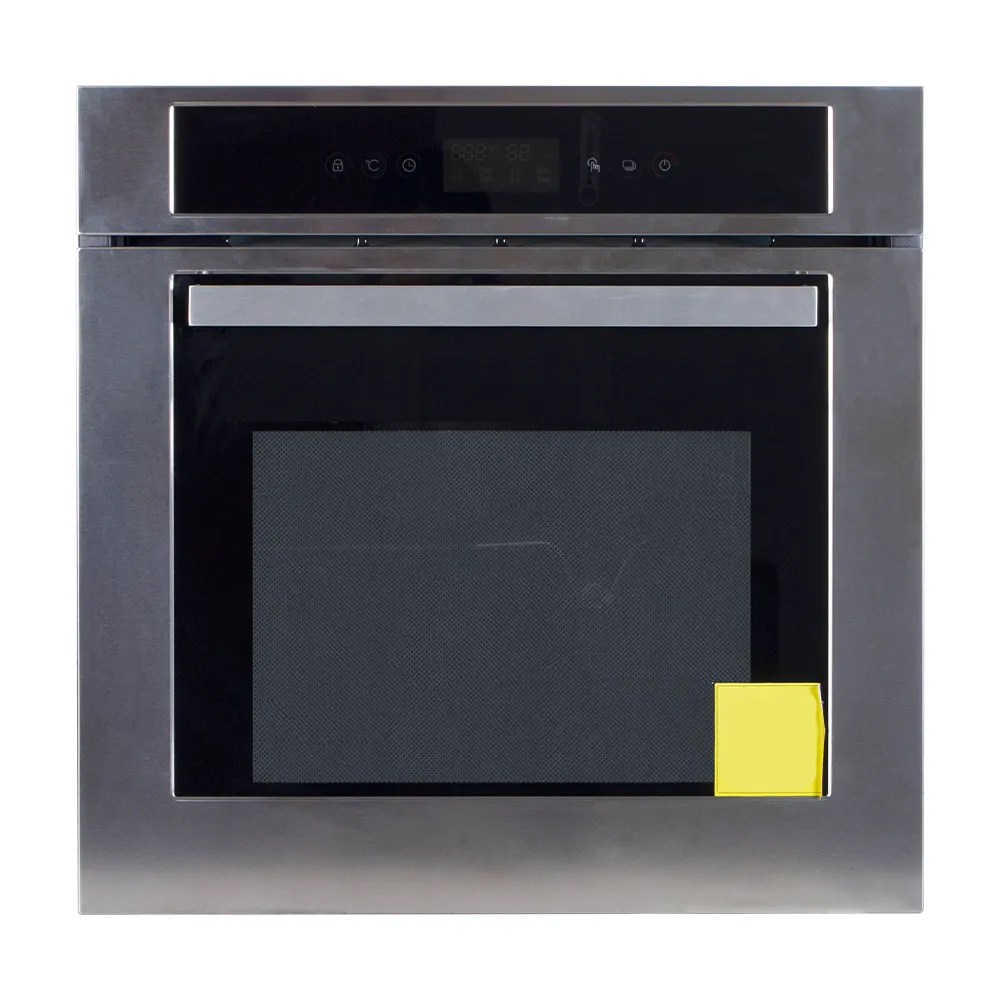
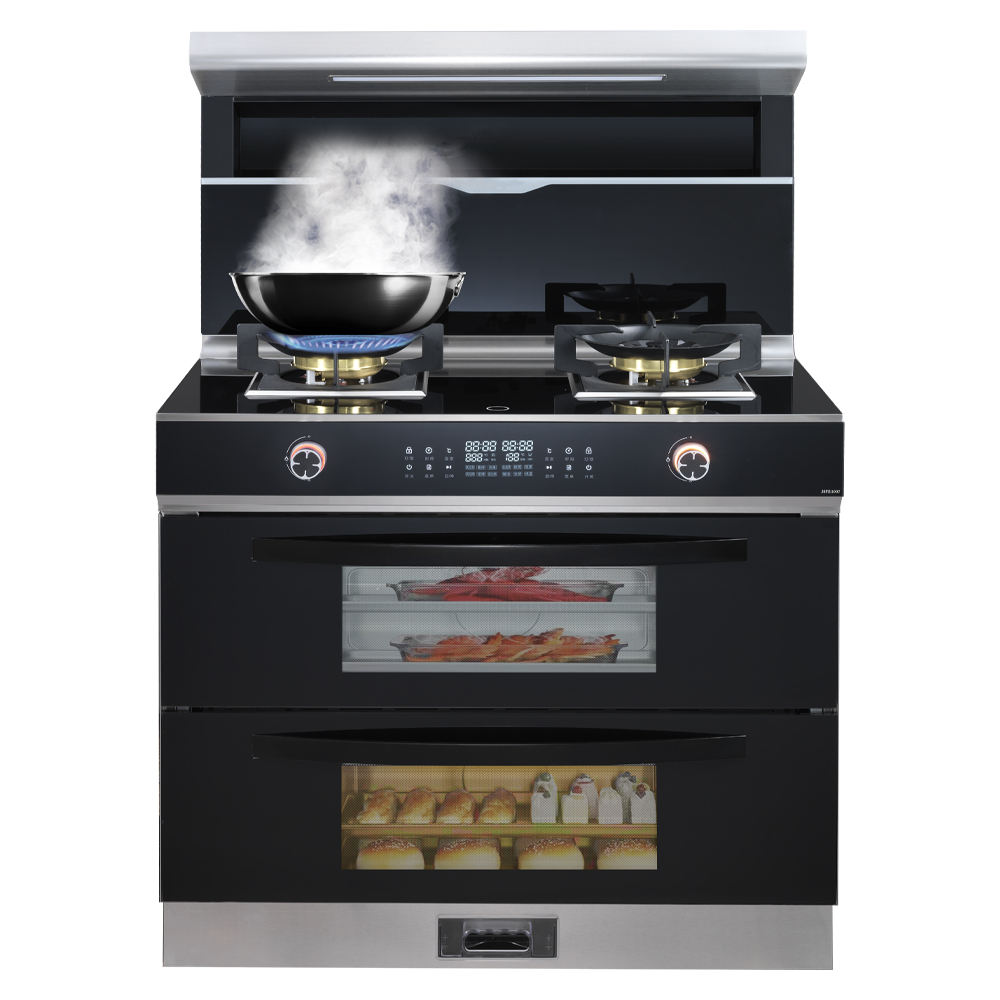
عربىMaintaining a clean electric wall oven is crucial for optimal performance, food safety, and appliance longevity. Built-up grease, food spills, and grime can affect heating efficiency, cause unpleasant odors, and even become a fire hazard.
Critical Safety First:
-
Power Down: Always turn off the oven at the circuit breaker before cleaning. This eliminates the risk of electric shock. Do not rely solely on the oven's control panel being off.
-
Cool Completely: Ensure the oven, including the door, racks, and interior surfaces, is completely cool to the touch before starting. Cleaning a warm oven can cause injury and make cleaners less effective or hazardous.
-
Ventilate: Open windows or turn on the kitchen exhaust fan, especially when using commercial cleaners or vinegar, to ensure adequate ventilation.
-
Protect Yourself: Wear rubber gloves to protect your hands from cleaning agents and hot surfaces (if any residual heat remains). Safety glasses are recommended when using sprays or dealing with debris.
-
Consult Your Manual: Always refer to your oven's specific owner's manual for cleaning instructions, warnings, and details on removable parts unique to your model. It is the definitive source.
Materials You'll Need:
-
Rubber gloves
-
Microfiber cloths (lint-free)
-
Soft sponges or non-abrasive scrubbing pads
-
Plastic putty knife or scraper (specifically designed for ovens/glass cooktops)
-
Bucket or large bowl
-
Warm water
-
Mild dish soap
-
Baking soda
-
White vinegar (distilled)
-
Commercial oven cleaner (optional, use with extreme caution - check manual compatibility first)
-
Stainless steel cleaner (if applicable for door exterior)
-
Glass cleaner (for door glass)
Step-by-Step Cleaning Procedure:
-
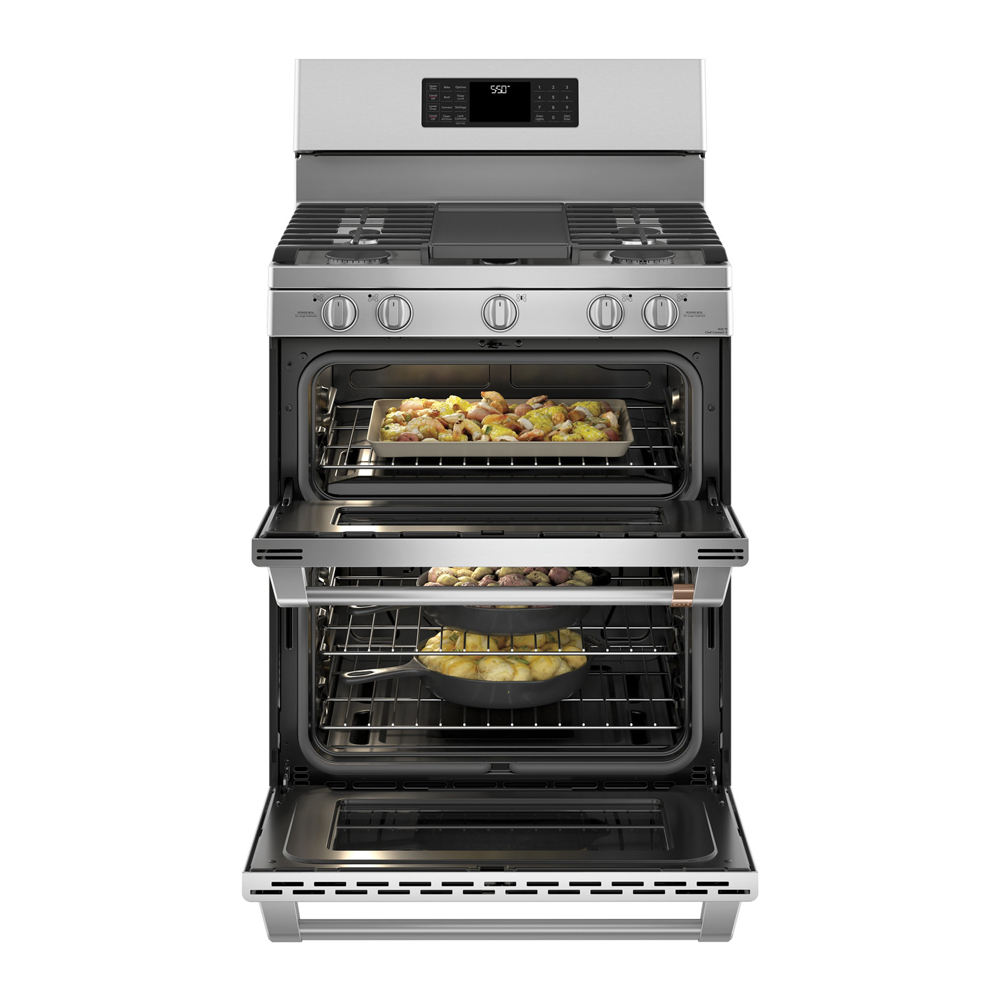
Remove Racks and Accessories:
-
Carefully pull out oven racks and any removable accessories like broiler pans or baking stones.
-
Soak racks in a sink or large tub filled with very warm water and a few tablespoons of dish soap. For tough grease, add 1/2 cup of baking soda to the soak water. Allow soaking for at least 30 minutes, or several hours for heavy buildup.
-
After soaking, scrub racks with a non-abrasive sponge or brush, rinse thoroughly with clean water, and dry completely before replacing.
-
-
Clean the Oven Door:
-
Exterior: Wipe down the outer door frame and handle with a damp microfiber cloth and mild soapy water. For stainless steel exteriors, use a cleaner specifically formulated for stainless steel, applying it with the grain. Buff dry.
-
Interior Glass: Many oven doors have multiple glass panels. If accessible per your manual, carefully remove the inner door panel to access between the glass layers. Wipe both sides of each glass panel with a solution of equal parts vinegar and water or a dedicated glass cleaner, using a microfiber cloth. Avoid abrasive pads.
-
Door Gasket: Wipe the rubber door seal (gasket) gently with a damp cloth and mild soapy water. Ensure no debris is trapped, as this can compromise the seal. Avoid harsh chemicals that could degrade the rubber.
-
-
Clean the Oven Cavity:
-
Manual Method (Recommended for Light/Medium Soil & Avoiding Harsh Chemicals):
-
Make a paste: Mix 1/2 cup to 1 cup of baking soda with enough water to form a spreadable paste.
-
Apply paste thickly to the interior walls, floor, and ceiling of the cool oven, avoiding heating elements and any exposed electrical components. Focus on areas with heavy grease or baked-on food.
-
Let the paste sit overnight (8-12 hours).
-
Dampen a cloth or sponge and wipe away the paste. A plastic scraper can gently lift stubborn spots – never use metal. For residue, spray or dab with white vinegar; it will react with the baking soda, loosening grime. Wipe thoroughly with clean water and a damp cloth until all residue is gone. Dry with a clean towel.
-
-
Commercial Oven Cleaner Method (Use with Extreme Caution):
-
Only use if recommended in your manual and for very heavy soil. Ensure the oven is cold and the room is well-ventilated. Wear gloves and eye protection.
-
Follow the product instructions meticulously. Typically, you spray onto surfaces (avoiding elements, gaskets, and controls), close the door, and let it sit for the specified time (often 20-30 minutes).
-
Wipe away the cleaner and dissolved grime thoroughly with damp cloths, changing the water frequently. Rinse multiple times with clean water and a fresh damp cloth to remove all chemical residue. Dry thoroughly. Never mix cleaners.
-
-
-
Address Stubborn Spills:
-
For isolated, baked-on spots that resist the above methods, apply a small amount of baking soda paste directly to the spot and let it sit for several hours. Use a plastic scraper at a shallow angle to gently lift the spot after the paste has worked. Avoid excessive force.
-
-
Clean the Oven Floor & Elements:
-
Wipe the oven floor following the cavity cleaning method above. Do not spray cleaners directly onto the heating elements. If cleaner gets on elements, wipe it off immediately with a damp cloth. Visible heating elements generally do not require manual cleaning; the high heat during operation burns off residues. Simply wipe accessible parts gently with a damp cloth when cool if necessary.
-
-
Final Wipe Down & Reassembly:
-
Go over the entire interior cavity one final time with a damp microfiber cloth and plain water to ensure no cleaning residue remains. Dry completely.
-
Ensure all interior surfaces, racks, and the door (if disassembled) are completely dry.
-
Carefully replace the oven racks and any removed door panels, ensuring they are securely in place.
-
Double-check that the door gasket is seated correctly.
-
Maintenance Tips:
-
Wipe Spills Immediately: Clean fresh spills (once the oven is safe to touch) to prevent baking on.
-
Regular Light Cleaning: After each use, once the oven is cool, quickly wipe down any obvious splatters inside the cavity with a damp cloth.
-
Deep Clean Schedule: Perform a thorough cleaning as described above every 3-6 months, depending on usage frequency. Heavy bakers or those prone to spills may need to clean more often.
-
Avoid Liners: Do not use aluminum foil or commercial oven liners on the oven floor unless explicitly approved in your manual, as they can block vents and reflect heat unevenly.
Regular and proper cleaning is essential for the safe, efficient, and long-lasting operation of your electric wall oven. By following these safety precautions and methodical steps, using appropriate materials, and consulting your owner's manual, you can effectively maintain a clean oven cavity, clear door glass, and sparkling racks. Consistent care prevents the buildup of stubborn grime and ensures your oven performs at its best for years to come.