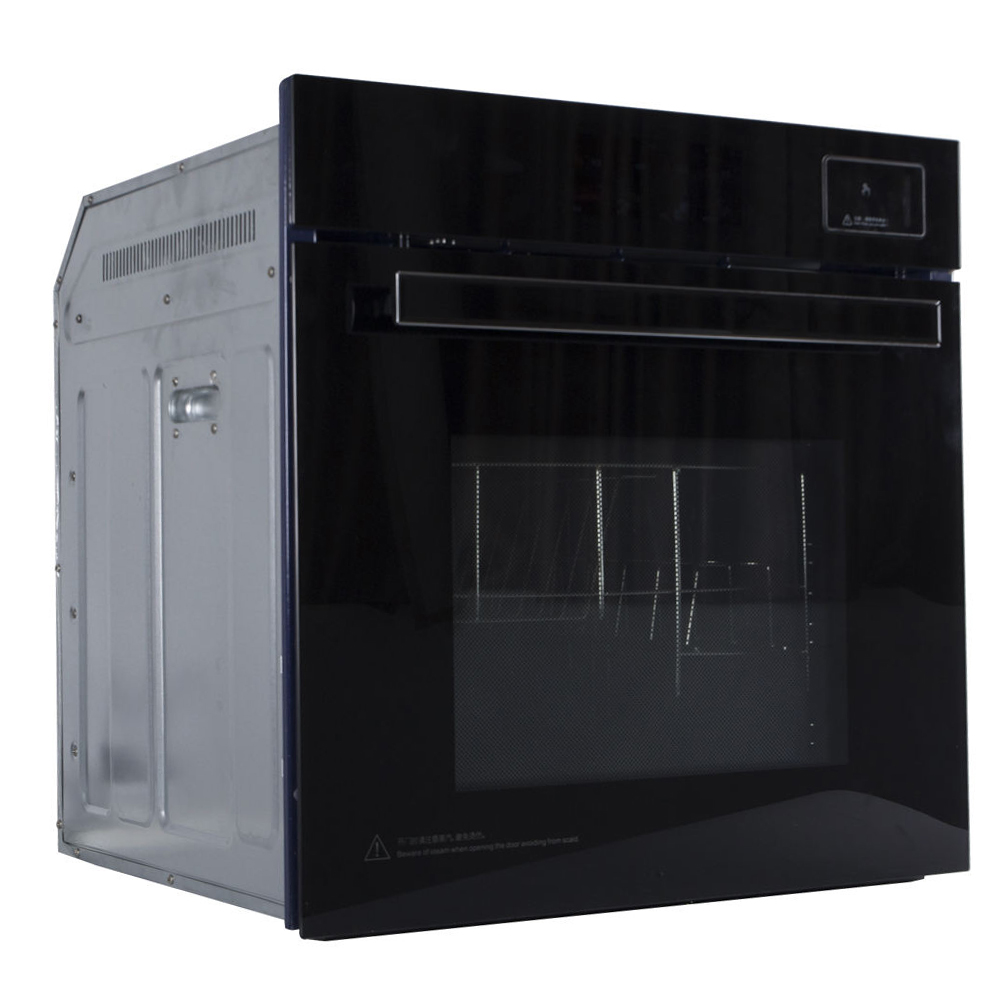
Uneven heating in an electric wall oven can disrupt meal preparation, waste energy, and signal underlying technical issues. As a common pain point for homeowners and professional kitchens alike, addressing this problem requires systematic troubleshooting.
Step 1: Verify Heating Element Functionality
Electric ovens rely on upper (broil) and lower (bake) heating elements to distribute heat.
Visual Inspection: Power off the oven and remove the racks. Look for visible damage such as blistering, warping, or breaks in the coiled elements. A damaged element will fail to glow uniformly when powered.
Multimeter Testing: Disconnect the oven from power. Use a multimeter to measure resistance across the element terminals. A functioning element typically reads 20–40 ohms. Infinite resistance indicates a broken element requiring replacement.
Pro Tip: Uneven browning often points to a faulty lower element, while poor broiling results from upper element failure.
Step 2: Test the Temperature Sensor (Thermistor)
Modern ovens use thermistors to regulate internal temperatures. A miscalibrated or defective sensor can cause erratic heating.
Resistance Check: Locate the sensor (usually at the rear of the cavity). At room temperature (77°F/25°C), a properly functioning thermistor should measure approximately 1,100–1,200 ohms. Values outside this range confirm sensor failure.
Calibration Test: Preheat the oven to 350°F (177°C). After 20 minutes, use an independent oven thermometer to verify the actual temperature. A variance exceeding ±25°F (±14°C) indicates recalibration or sensor replacement is needed.
Note: Some models allow sensor recalibration via the control panel (consult the manufacturer’s manual).
Step 3: Inspect Door Seal and Insulation
A compromised door gasket allows heat to escape, creating cold spots.
Visual and Tactile Check: Examine the rubber door seal for cracks, tears, or gaps. Close the door on a dollar bill; if it slides out easily, the seal is ineffective.
Thermal Imaging (Optional): For persistent issues, use an infrared thermometer to detect heat leakage around the door edges during operation.
Solution: Replace worn gaskets using OEM parts to ensure proper fit and heat retention.
Step 4: Evaluate Convection Fan Performance (If Applicable)
Convection ovens use a fan to circulate hot air. Uneven airflow due to a faulty motor or obstructed fan can lead to hot/cold zones.
Operational Test: Activate the convection mode and listen for smooth, consistent fan operation. Grinding or intermittent noise suggests motor bearing wear.
Debris Removal: Clean fan blades and vents of grease or food particles using a soft brush and degreaser.
Critical Insight: 80% of convection-related heating issues stem from poor fan maintenance.
Step 5: Investigate Control Board Irregularities
The electronic control board manages power distribution to heating components. Voltage irregularities or burnt relays can disrupt heating cycles.
Error Code Review: Check for stored fault codes (e.g., F7, F9) in the oven’s diagnostic mode (see user manual for access instructions).
Relay Testing: Use a multimeter to test continuity across control board relays. A failed relay will prevent power from reaching the heating elements.
Caution: Control board diagnostics require advanced technical skills. Consult a certified technician if unsure.
Preventative Maintenance Best Practices
Annual Calibration: Schedule professional calibration to maintain temperature accuracy.
Monthly Cleaning: Remove food debris from cavities, vents, and fan blades to prevent airflow blockages.
Avoid Overloading: Ensure 2–3 inches of space between dishes for optimal heat circulation.
Uneven heating in electric ovens rarely stems from a single cause. By methodically eliminating potential failures—from elemental wear to sensor drift—users can restore performance and extend appliance lifespan. For complex electrical faults, partnering with a licensed technician ensures safety and compliance with manufacturer warranties. Addressing these issues promptly not only improves cooking results but also enhances energy efficiency, delivering long-term value for households and commercial operations alike.


 中文简体
中文简体 Español
 عربى
عربى

